Showing posts with label Recipe. Show all posts

Monday, November 14, 2011

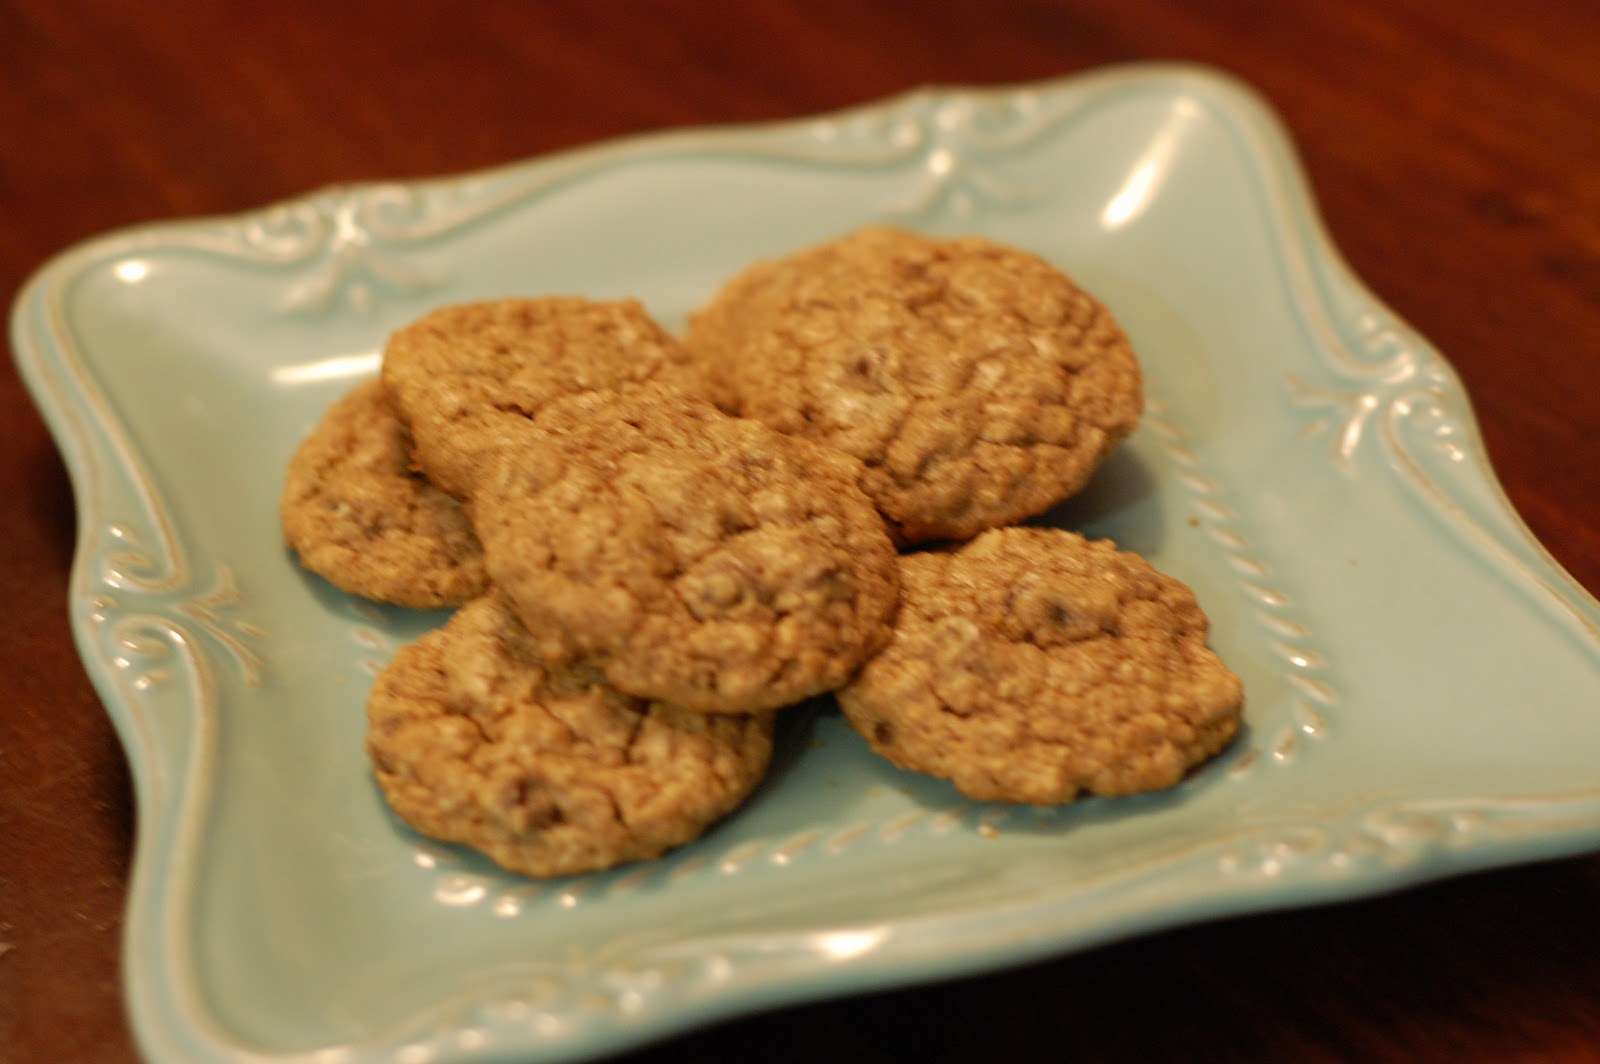
Amazing Whole Wheat Chocolate Chip Cookies!

My first REAL cookie recipe!  The whole family loves these!!!  I leave out the chocolate chips for my non-chocolate eating son, but he didn't mind the grated chocolate mixed in to the dough; it really just adds more moisture to the flours than anything else.  SO YUMMY!  Let me know what you think!


Amazing Whole Wheat Chocolate Chip Cookies

Ingredients:
• 1/2 cup organic unsalted butter, softened

• 1/3 cup real maple syrup (we use Grade B)

• 1/3 cup organic sugar

• 1 egg

• 1/2 teaspoon vanilla

• 1 cup white whole wheat flour

• 1/2 teaspoon baking powder

• 1/4 teaspoon salt

• 1/4 teaspoon baking soda

• 1 1/3 cups old-fashioned rolled oats, blended into powder

• 3/4 to 1 cup dark chocolate chips, 60% cocoa (semisweet will work to, just not quite as "real")

• 3/4 cup nuts, chopped (optional, we prefer without)

• .75 to 1 oz. dark chocolate (60% cocoa or better) bar, grated


Like the vintage Vita-Mixer?  It was my mom's when I was a kid...she has a new one so we get the old one! YEAH!


Checking on those oats.  We like them with a little texture left, not completely powder.

 
Instructions:

1. Preheat oven to 375

2. In a medium bowl, whisk together the powdered oats, flour, salt, baking powder and baking soda.


Helping grate the chocolate.  Love this grater - really safe with the guard so the kids can help!


3. In a large bowl, cream together butter, sugar and syrup for 2-3 minutes on medium speed. Beat in eggs and vanilla. Gradually beat in dry ingredients. Stir in grated chocolate, then add chocolate chips and chopped nuts, if using.


This is the dough, pre-chocolate.


4. Roll or scoop dough into 2-inch sized balls and place 2 inches apart on cookie sheet or baking stone (I use my small Pampered Chef scooper – it makes more and they are perfect every time). Bake for 10-12 minutes. Do NOT overbake. Should still be soft.
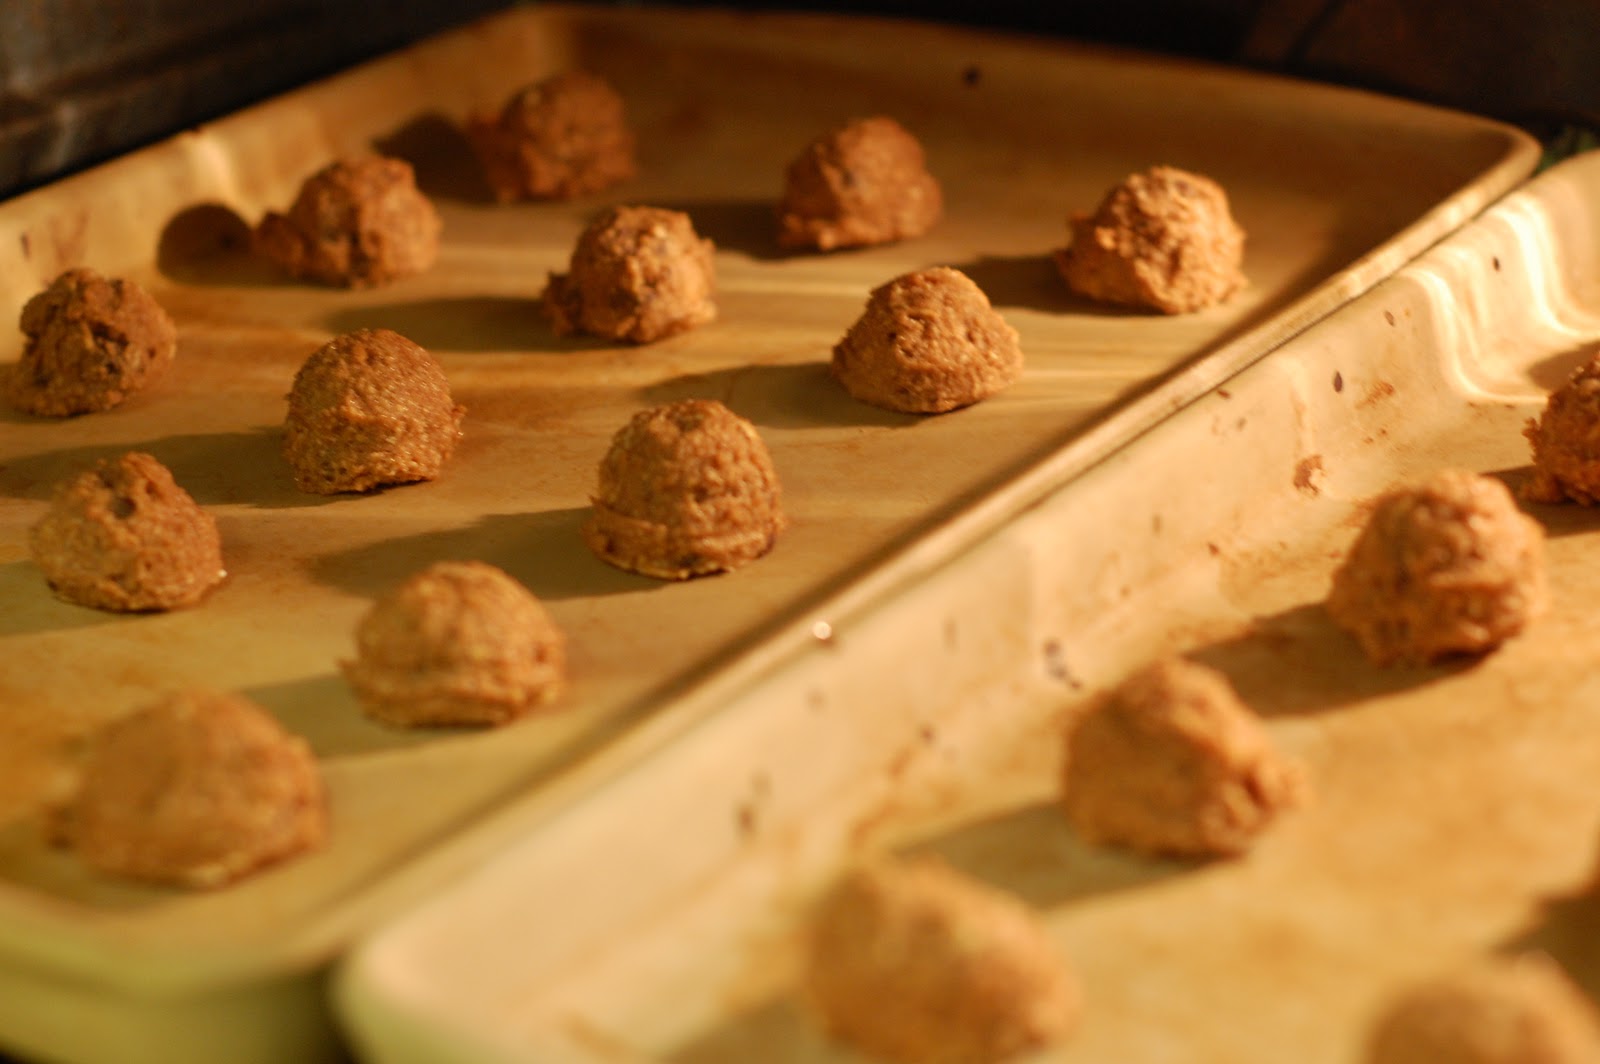


5. Cool 2 minutes on baking sheet before transferring to a cooling rack.


Because it is just too hard to wait!  They call the beater and the spatula the "lickers"!


Makes around 2 dozen cookies, or more if scooping with the smaller size. The scooped dough freezes great and bakes up as yummy as the fresh dough. Add 1-2 minutes to baking for frozen dough.  So good!


My girls enjoying their cookie. . .


Friday, October 14, 2011

End of Summer Tomatoes ~ Easy Chicken Pasta


This dish is a prime spot for the fresh aroma from vine-ripened tomatoes shine.  So pick your last few and plop them in this yummy, garlicy, chicken pasta dinner!


1 lb brown rice spaghetti or angel hair pasta
5-7 cloves garlic, chopped coarsley
6 TBS olive oil
2 cups shredded chicken
dash of salt
3 large tomatoes, diced
       or 1 pint grape tomatoes
Fresh Mozzerella, 1/2 - 2/3 cup torn into little pieces
2-3 TBS Balsamic vinegar
4 TBS Fresh Basil, chopped or torn into small pieces


While pasta is boiling, coarsly chop the garlic.  Drizzle a large pan with the olive oil on med-high heat.  Place garlic in hot oil, stirring frequently, for 2-3 minutes (you do NOT want your garlic to get brown, it burns fast and becomes very bitter...yuck!).

Chop the chicken into bite-sized pieces and add to the garlic oil.  Toss to coat the chicken with the garlic oil and let it sizzle for a minute.  The chicken will gain a few crispy edges and soak up that amazing flavor.  Add that dash of salt now, but just a dash because the mozzerella is salty too (salt draws the moisture out of tomatoes so we want to add it  now and let the chicken absorb the salt so the tomatoes don't become too juicy when they are added next).


When the chicken has your desired amount of "crispiness", gently fold in the tomatoes with the chicken and then quickly add the drained and rinsed the pasta (the idea is not to cook the tomatoes, just warm them up a bit while allowing them to keep their firm, fresh texture and flavor).  Toss pasta in with chicken-tomato mixture.  Add the bits of mozzerella and balsamic; toss one more time.


Plate it up and top with a heavy sprinkle of fresh basil.  We serve ours with something green, like string beans  Even the little one peaking over the counter to spot her plate asks for seconds and thirds of this quick and easy pasta.

Hope you enjoy!!!

Monday, October 3, 2011

Summer Fresh Fruit Pasta

I've been focusing on taking advantage of these final summer fruits and vegetables this week.  While I can hardly wait for autumn comfort food, butternut squash soup and cheesy casseroles, I know we will all miss the bright, sweet flavors that are passing with the long days and warm nights.  So here we go...


Summer Fresh Fruit Pasta


Elbow Brown Rice Pasta, cooked (or noodle of your choice)
Fresh Strawberries, diced
Fresh Peaches, diced
Feta Cheese or Goat Cheese
Fresh Basil and/or Mint
Balsamic Vinegar
Olive Oil

Make sure the pasta is very cold.  Here's a little trick to speed that up if you are in trying to make this dish quickly.


Just let it sit in the sink with the ice in strainer. (I try to pull those big chunks out of the freezer that block up the ice dispenser and use them.) Fish out the ice cubes left when the pasta is cold and you are ready to toss it.
Here's my little basil trick...might be old news to some of you, but it's worth sharing if you like fresh herbs.

Stack basil, or mint, or any other large leaf veggie, in a pile.

Roll them up!
Run your knife through from one end to the other.  This will give you nice, long, chiffonade (a cutting technique.)  You can leave them like this, or . . .
Run your knife through it again, perpendicular to the first cuts.  Now you can finely chopped, fresh herbs without bruising the leaves to heck! Yeah!
And your kitchen will smell AMAZING!


Gently fold in the fruit, cheese and herbs.  Generously drizzle with the vinegar and oil (maybe 2-3 TBS each).  Toss again gently to coat evenly.  Serve and enjoy!


These ingredients were just too pretty to ignore.  Doesn't our Creator provide beautiful food for us!

 
My kids gobbled this up for lunch on Saturday.  The fruit gets a little mushy if it sits too long so just make enough for one meal.  Add some grilled chicken or shrimp for a light dinner.  YUM!

You will notice there are no measurements, so use proportions to your personal taste...honestly, that's how I cook most of the time.  Just make it up as I go by smelling, tasting and looking as the meal comes together in front of me.  It's so fun and, while yes, sometimes things are a total flop...more often than not, we end up with truly unique and delicious things!  Try it!  It's addicting!

Wednesday, September 28, 2011

Pumpkin Oatmeal and BACON, plus some good FAT

Some words a friend read to me one morning this week, may they challenge you as they have me:

Set a guard over my mouth, LORD;
keep watch over the door of my lips.
 Do not let my heart be drawn to what is evil
so that I take part in wicked deeds
along with those who are evildoers;
do not let me eat their delicacies.
Psalm 141:3-4

~~~~~~~~~~~~~~~~~~~~~~~~~~~~~~~~~~~~~~~~~~~~~
Bring on cozy socks, drifting leaves, and the crisp apple scents of autumn...
...and Pumpkin Oatmeal with Bacon for dinner!

Yup!  That's what we had tonight.  Usually, I plan meals 2-3 weeks out, but the chaos of sudden testing for our littlest collided with the end of my meal plan for this month and suddenly, I was faced with a few days of empty menus!  I KNOW...shock and horror!!!!  Ok, maybe a bit of an exaggeration, but I was a little panicky until I saw a few fallen leaves of gold and light orange on our front lawn...just the inspiration I needed.

This is a delicious breakfast, lunch or dinner, that never fails to leave my family satisfied with warm, full bellies.  Surprisingly filling, and stuffed with nourishing vitamins, this is a winner (as long as you like pumpkin and won't break out for the squatty vegetable...Ash ;)  and in that case you can swap it out - see below)

Pumpkin Oatmeal


For a family of 6 (2 adults, 4 smaller people with very big appetites):

2 1/2 cups raw milk (or milk of your choice)
1 cup pumpkin puree (or sub sweet potato or acorn squash)
2 tsp cinnamon
1/2 tsp ground cloves
1/2 tsp nutmeg
1/2 tsp allspice
          or substitute all of spices for 2-3 tsp pumpkin pie spice mix
3 1/2 cups regular oats
pure maple syrup (or sweetener of your choice)
chopped nuts (optional)
dried cranberries or raisins (optional)

Gently heat milk and pumpkin in a saucepan to a low boil. (If you are using raw, do not bring to a full boil; you will kill the healthful good bacteria and enzymes, but your oats will appreciate very warm milk).


Add oats and spices, stirring frequently for 5-8 minutes, or until milk is absorbed and becoming thick.


Spoon into bowls, drizzle with syrup and a little more  milk.  Top with nuts and dried fruit.  So yummy! AND just a few bucks for the whole family.


Now, for the BACON!!!  Can there be anything better than BACON!!!!  It's so good it deserves capitals!

One thing I didn't mention in the Natural Cow post was how the body, both animal and human, stores toxins in fat.  Yes, gross, but God's way of protecting the vital systems of our body but sending the "bad" stuff to the outer lining (which is one of the reasons why high amounts of inter-visceral fat, the kind that lives between and near major organs, is so dangerous).  Isn't our Creator amazing!

This means that organic, naturally fed meat is not only more pure, but the fat in it is healthier too!

So if you are eager to move down the REAL food track...this is a good place to start: FATS!!!!

Back to BACON.  You can find natural, nitrate-free bacon you can feel good about feeding your family in some grocery stores, including Trader Joe's. (Nitrates are the preservatives used to cure bacon and hot dogs...aka - very bad for you.)  It IS a bit more pricey, but we eat less and savor it more, knowing it is actually a benefit to our bodies instead of a greasy treat we feel gross about eating once it's all gone.

And a piece or two, now and then, is absolutely fine and healthy, a good dose of fat and a powerful punch of iron.  Just please don't microwave it and zap all those positives qualities!


I just got this great grease screen with a hinge in the middle so I can lift up each side to check and flip without my hands getting spattered with burning crackles!  (Pampered Chef)

So there you have it - a very quick, healthful meal full of REAL food!  Hope you ENJOY and let me know what you think!

Saturday, September 17, 2011

Breakfast Nachos

We are dabbling with some potential food allergies (wheat, gluten, dairy) in our house, on top of the REAL food efforts we are making.  So needless to say some meals can get a bit...creative.

Enter ~ Breakfast Nachos!


This is a great Sunday evening meal or even a quick, harty family lunch.  But no matter what time of day I serve these, there is never a chip left.  It takes just minutes to prepare and will keep them full for a while...always a minor goal on my menu.

Breakfast Nachos

1 Bag Organic Corn Tortilla Chips - or - Homemade (cut up some corn tortillas and broil them in the oven until they are crisp)

*Cooked Black Beans, we use 1 1/2 cups

1-2 TBS Chili Powder

1-2 TBS Ground Cumin

Scrambled Eggs (made to your preference), we use 8-10 eggs

1 1/2 cups Raw Cheddar Cheese, grated

Tomatoes, diced

Cilantro, chopped fine (optional)

**Salsa - I made Papaya Salsa this time

Lime wedges (optional)


Mix black beans with chili powder and cumin; add one tablespoon of water.  Let the beans soak up the flavors while making the eggs.

Spread chips on large baking sheet.  Scatter scrambled eggs and black beans over chips.  Sprinkle with raw cheese.  Place nachos under broiler until cheese is melted, but watch carefully so they don't burn!  (My oldest is usually given the task of watching the broiler so I don't singe another meal.)

Top with tomatoes, cilantro, salsa, and a squeeze of lime juice.  Serve and enjoy!

* Black Beans - We buy dry beans in bulk...pennies compared to purchasing canned beans in the grocery store, not to mention we get to avoid all those potential toxins leaking from tin cans during that long shelf life.  More on how to cook and use dry beans coming, but the short version:
        soak beans overnight
         drain and rinse beans well
       place beans in a large pot, cover with water
       boil beans in a covered pot until soft

I frequently make a huge batch and then freeze the cooked beans in small bags.  Makes for a quick and easy meal!

** Papaya Salsa
Tomatoes, finely diced
Onion, finely diced (green, red, or white...your choice)
Papaya, finly diced (or mango or pineapple)
Cilantro, chopped fine
Sea Salt
Lime Juice

Mix all ingredients in a bowl, season to taste.  Cover and let the salsa sit in the refridgerator for several hours so the flavors can marry.  So yummy!!!

Thursday, September 15, 2011

A Northwest Evening

An ode to my husband’s stomping ground and the beautiful home of our courtship year…Whidbey Island, Washington.


Deception Pass, Whidbey Island, Washington
The salty-sea smell of the island, the familiar bustle of Oak Harbor and crisp breeze that drifts across the narrow strip of earth to kiss the waters on the other side…it’s a unique little place and it will always hold a comfy nook in my heart. 
One of the things Craig and I miss the most is crab and blackberry season.  There is nothing like coming in from a day of crabbing in the cove (although my complexion was usually a little greener than usual) and picking blackberries, fresh from the vines in the backyard, the crabs cooking in a huge boiling pot on the driveway, while Grandpa sits in his lawn chair, shooting the breeze with neighbors and telling stories from days of old.  It’s all so nostalgic, isn’t it?
Crab is more of a delicacy here in northern California.  It was often my birth day meal of choice growing up.  When it comes in season (and of course goes on sale) we savor every bite, being sure not to leave even a morsel in the shell.  But in Washington there is more abundance and they actually COOK with crab!  Like as an ingredient!  Crab pizza, crab potatoes, crab salad, crab omelets!  Culinary heaven for this crab lover.


As we miss those we love on the island and our mouths water for some fresh, sweet crab and berries, this recipe was born out of my longing and remembrances:
Salmon Stuffed Potatoes

Small red potatoes
½ can  of salmon (I use Trader Joe’s - $2.69 for a large can)…unless you have some crab
Homemade Mayonnaise, or plain yogurt
Lemon Juice
Avocado, sliced thin
Raw Cheese, shredded (of your choice)
Fresh cilantro, finely chopped (or herb of your choice)

Boil the potatoes under fork tender.  While they are cooking, gently fold salmon, mayonnaise, and lemon juice to your taste preference.  We like some chunks of salmon in the mix.  (Depending on your mayonnaise, you might want to add more salt too.)
Remove the potatoes from the water…and here’s my fancy trick I tried when I made this last night.  Pour out just enough water to set your steamer basket into the pot, then add your veggies (we had fresh green beans).  The water is already hot so they will cook in a flash!  (yes, I was pretty proud of this “light bulb” moment.)

Slice the potatoes in half and place each half, cut side up, on a muffin tray.  (You might want to butter/grease your pan.  I didn’t and Craig volunteered to wash dishes.  I’m not sure how long he spent scraping cheese out of the tins, but he stood at the sink for quite a long time.)  Top with salmon mixture, a few slices of avocado, and some shredded cheese.  Place under the broiler with the rack in the middle of the oven so the cheese will take a little longer to melt, giving the salmon some time to heat up a bit.

When the cheese is bubbly and the salmon is warm (around 10 minutes in my oven) remove the muffin tray and place on plates.  Sprinkle with cilantro (or the herb of your choice).  Don’t’ forget your steaming veggies.  ENJOY with a fresh green salad and taste of little of Whidbey Island!


To really go authentic “Washington”, you can serve a berry cobbler and vanilla yogurt for dessert.  Yum!